Sign in
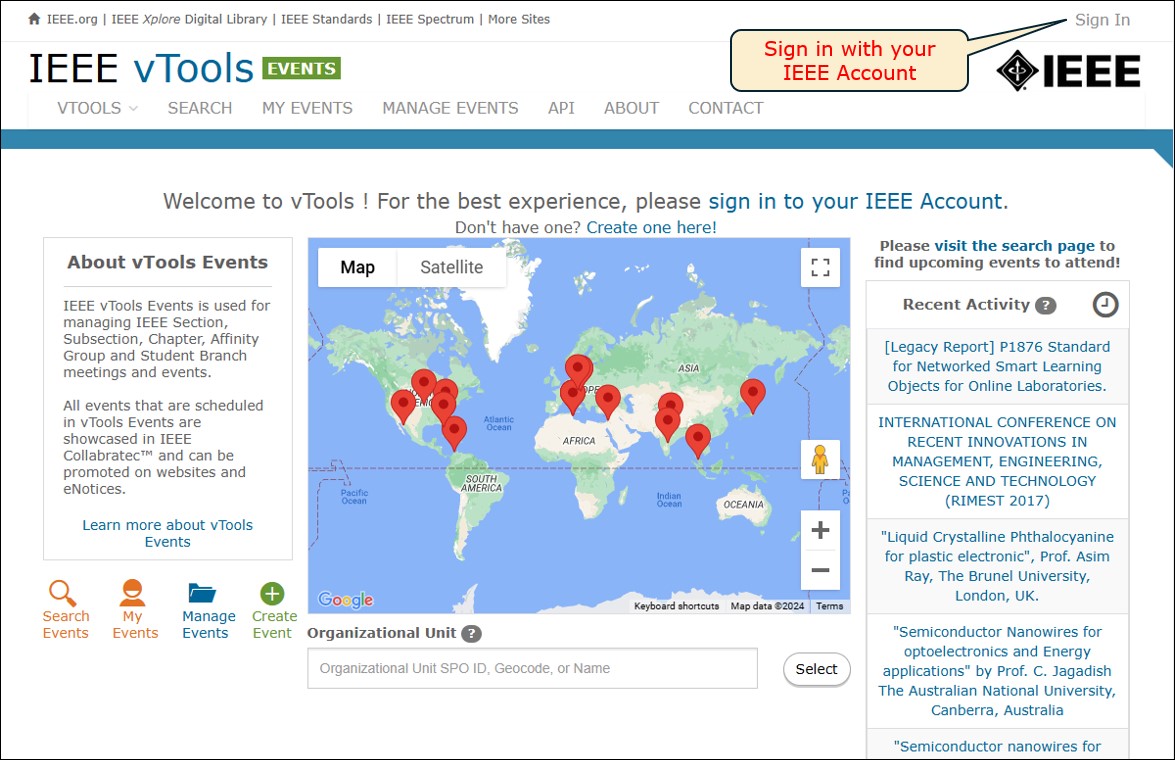
Navigate to https://events.vtools.ieee.org/ and sign in with your IEEE Account.
Click “Create Event”
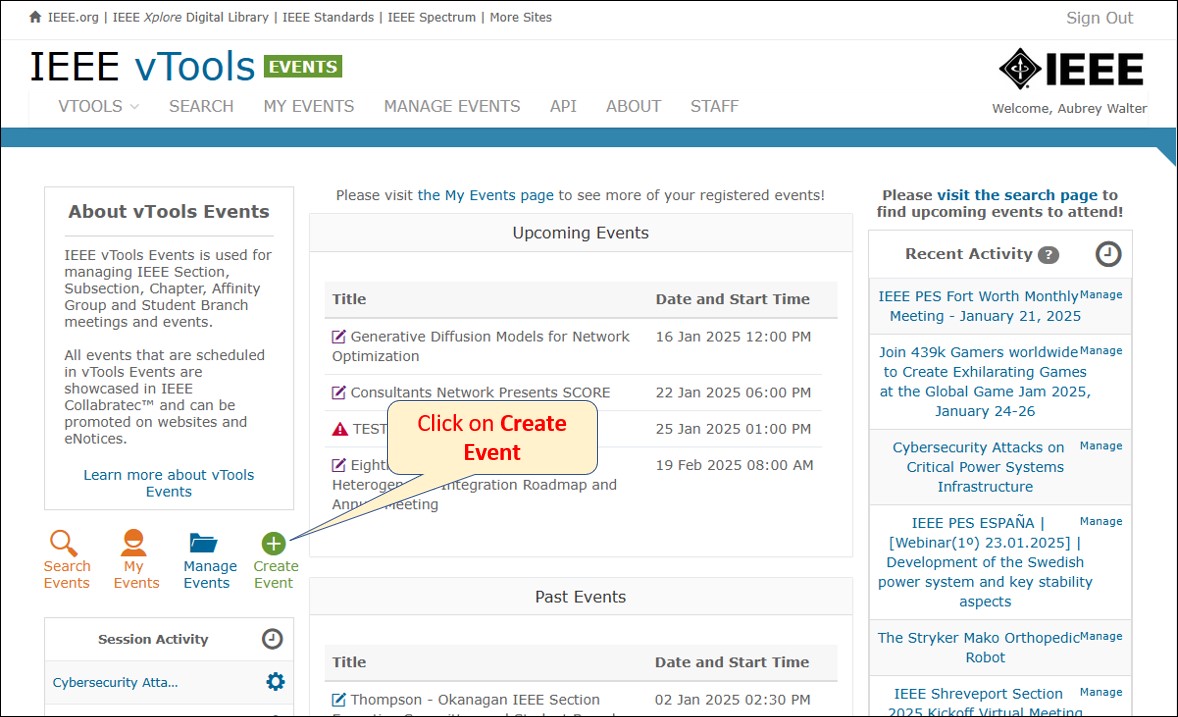
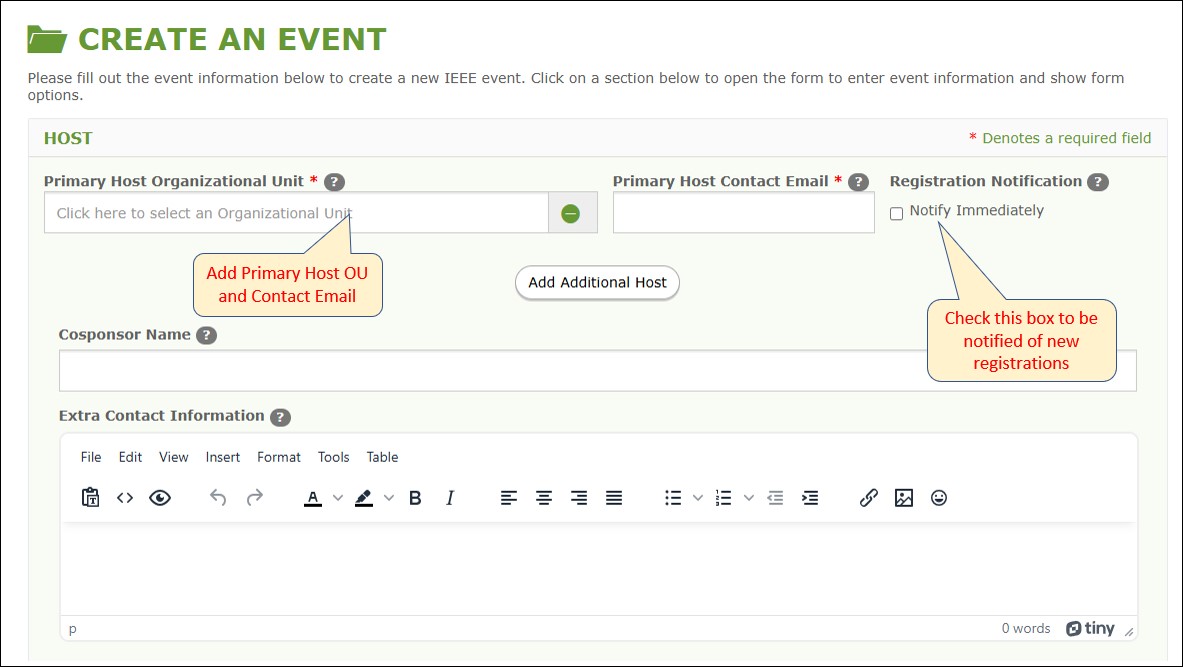
You will be brought to the CREATE AN EVENT form.
Begin by selecting a primary host OU. Note: You will only be able to select the primary host as one you are associated with and are currently an officer for.
Add the contact email for the primary host. Next to the Primary Host Contact Email field is a box you can check if you wish to be notified when there are new registrations for your event. If you do not wish to receive notifications, simply leave the box un-checked.
Select Additional Hosts
Once you have added the primary host OU, you may add additional Host OUs as needed.
- A single event can include multiple OUs as hosts.
- OU volunteers can efficiently manage the registration process for all registrants.
- Reporting is reduced to one report that applies to all hosting OUs.
- Only one (1) Primary Host may be assigned.
- Additional Hosts may be assigned (i.e. co-hosts) as needed.
- Officers of Primary Host are authorized to add additional Hosts.
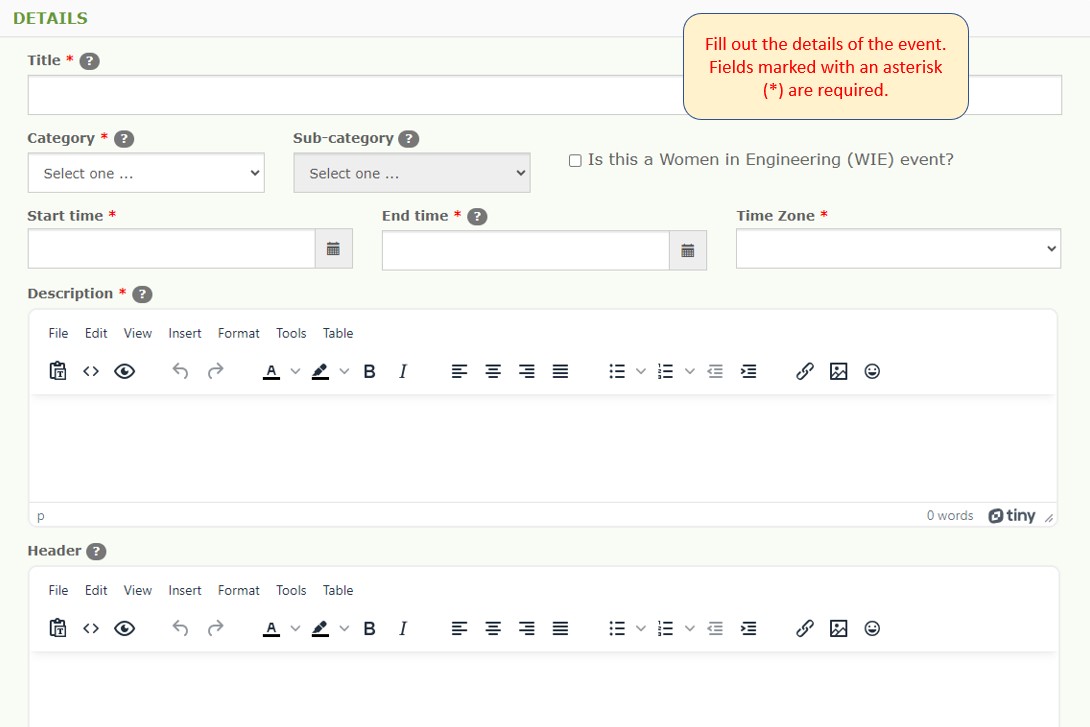
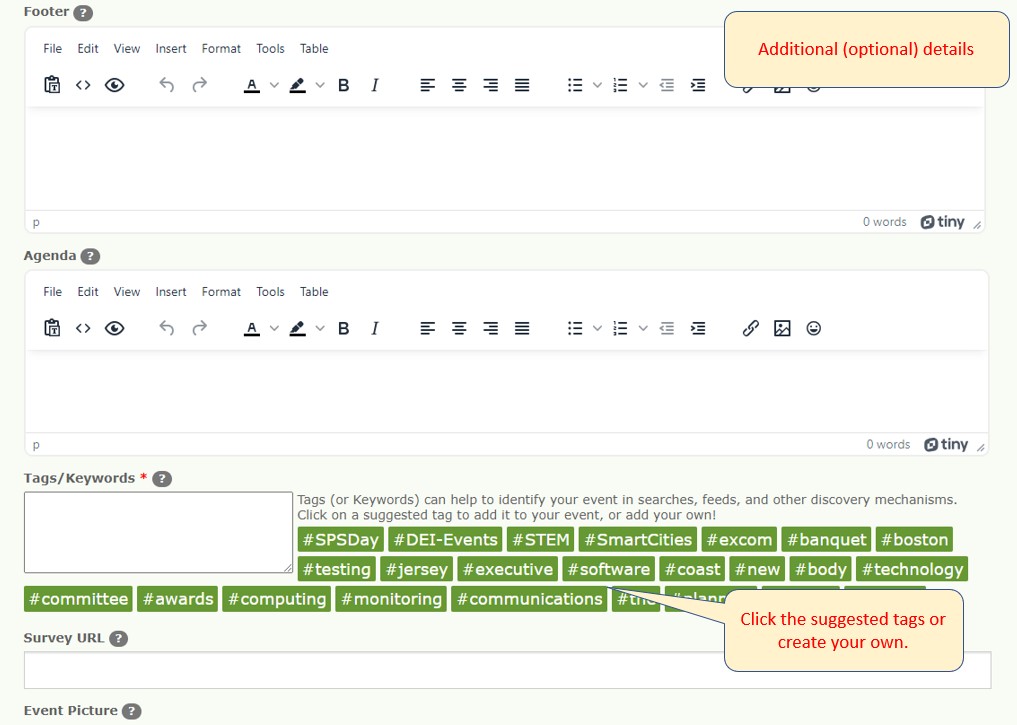
Event Details
Enter the event details, including the Title, Category, Start/End Time. Description, etc. Photos/pictures can be uploaded using the TinyMCE editor. Emojis are also supported.
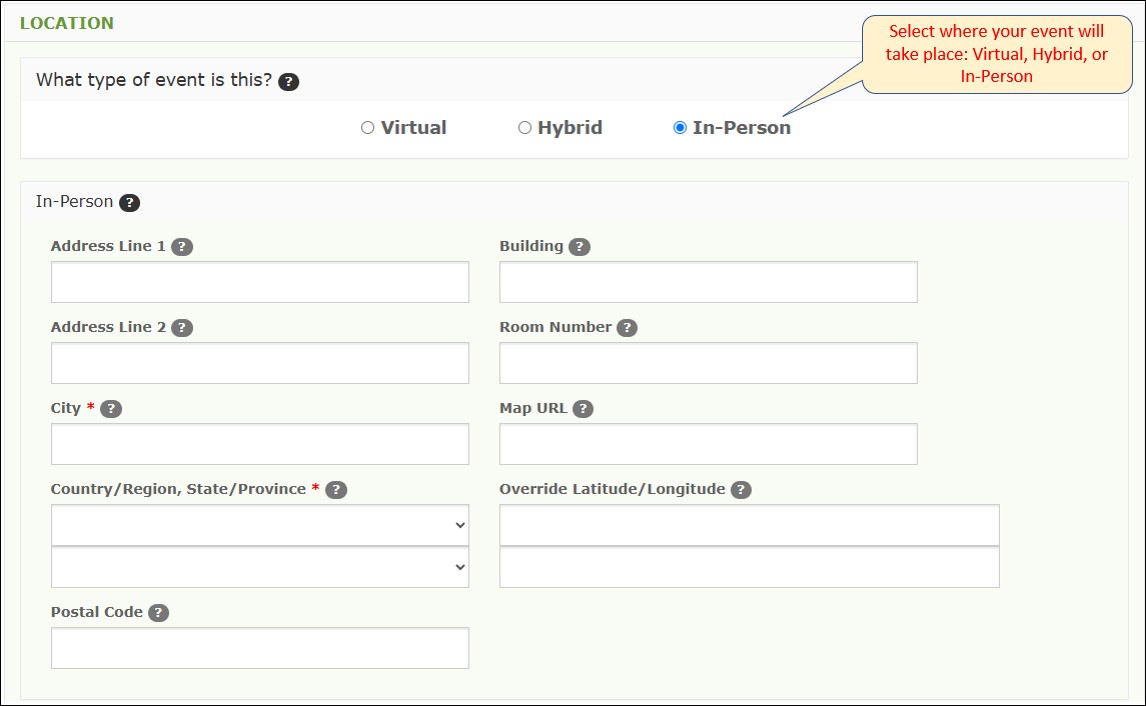
Location
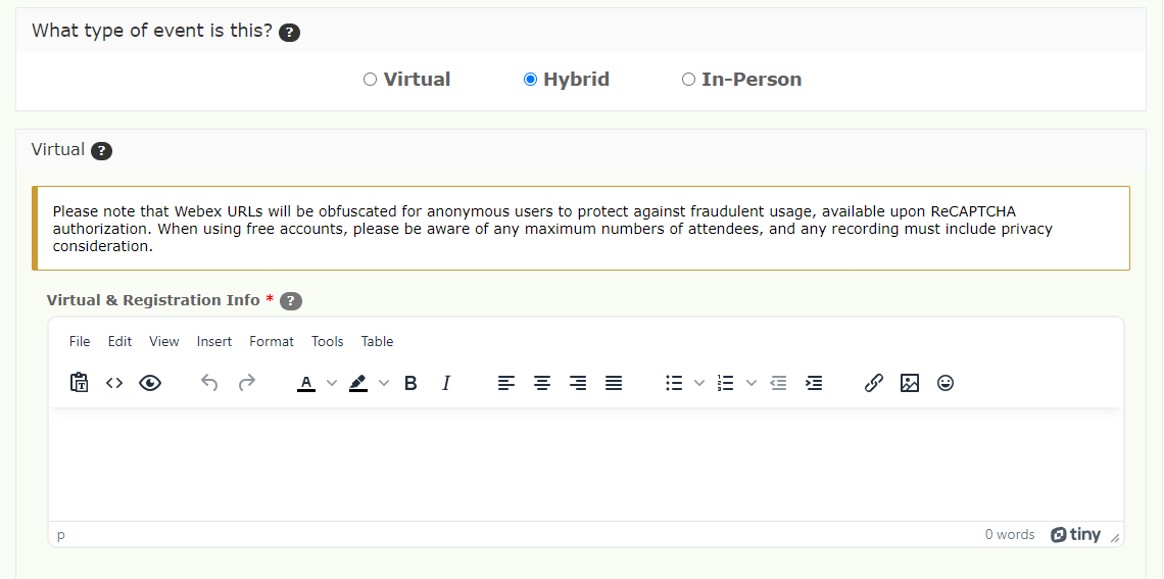
The location panel is where you would select whether your event is virtual (e.g., WebEx, Google Meet, ZOOM, etc), in-person at a physical location, or hybrid (both virtual and in-person). If an address is entered, the system will auto-generate a map once you publish the event.
If you select “Virtual,” include the link for registrants to access the event. Note: You do not need to include the link right away. Some event hosts choose to send the link to participants closer to the date of the event. If you do not yet have a Webex or other URL to join the event, you can enter “Coming Soon,” or “TBD” or something similar to indicate to attendees that the virtual information is coming. Once you have obtained the virtual information, you can go back and add it in by editing the event, or you may choose to send an eNotice from the event to share the URL. See the following tutorials for help with that:
Note: Any links added to the event will be obfuscated from users who are not signed in to vTools. However, if they complete the ReCAPTCHA or sign in with their IEEE Account, the link will then be visible.
If the event is hybrid, provide the virtual link as well as the address of the physical location.
Registration & Payment
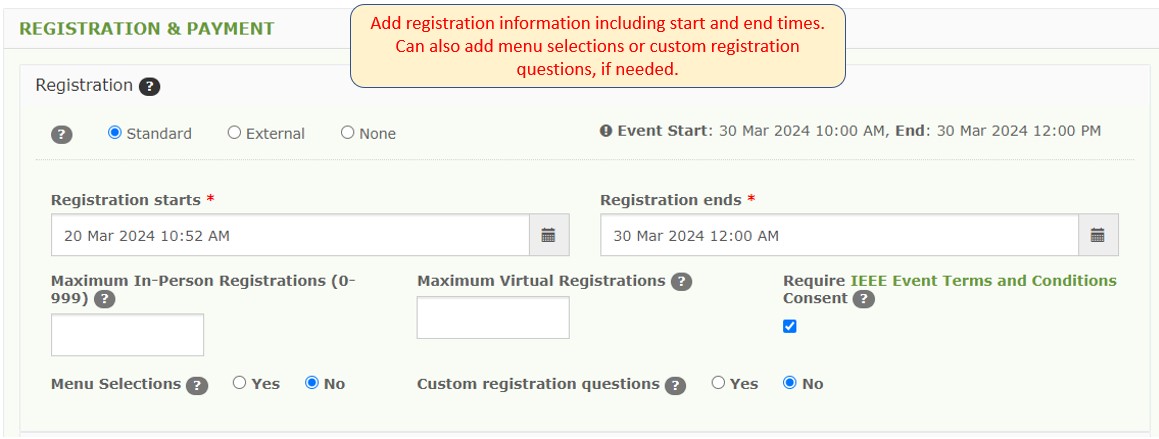
Select either “Standard,” or “External,” registration which would utilize an external registration site such as EventBrite or Cvent. If no registration is required, select “None.”
Select the start and end dates/times for registration. Other options to select:
- Maximum # of registrants (if space/bandwidth is limited)
- Menu selections, if applicable
- Custom registration questions, if needed
Enabling Payment Functionality using Primary Host Concentration Banking account
In order to set up payment for an event, registration dates are required. Select “Set up Payment” to show pricing information. Note: If the primary Host OU does not have a Concentration Banking account, the account will default to the parent Section. If the Section does not have an account, please contact [email protected] to start the process for setting up an account.
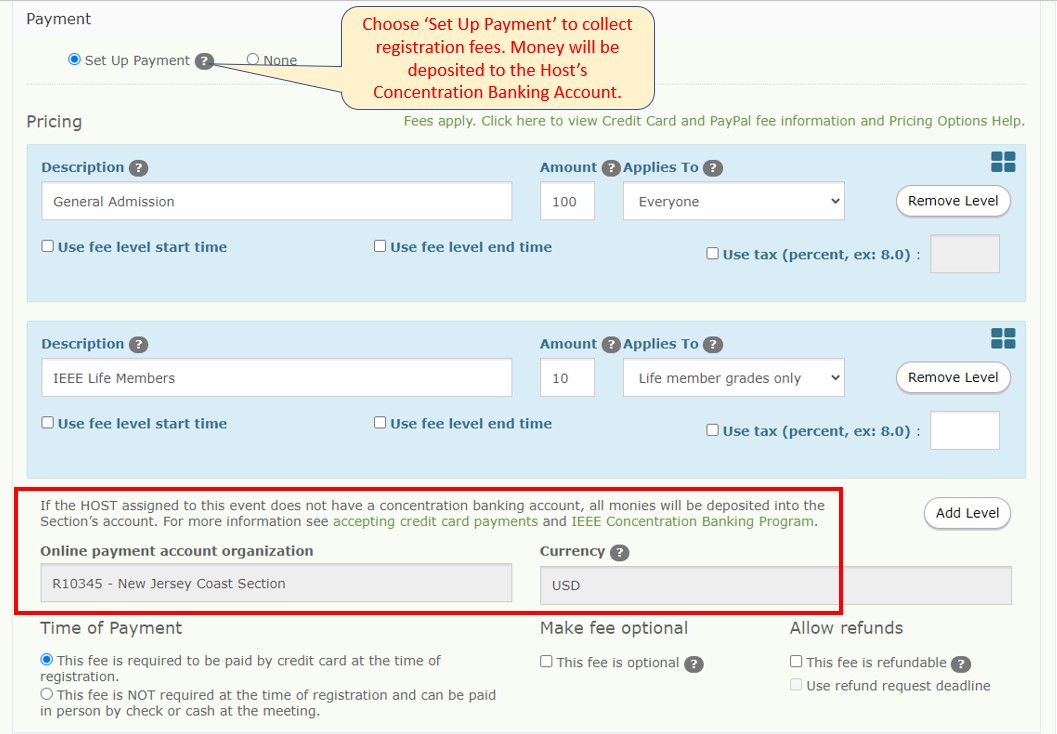
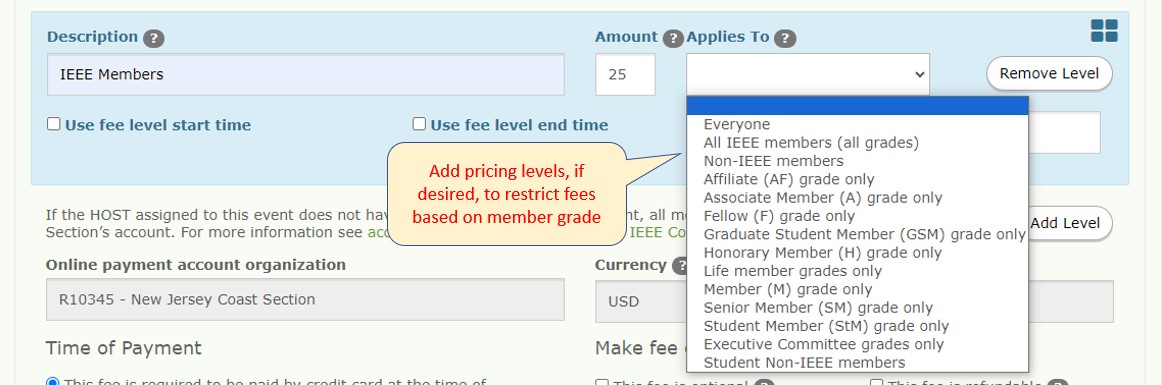
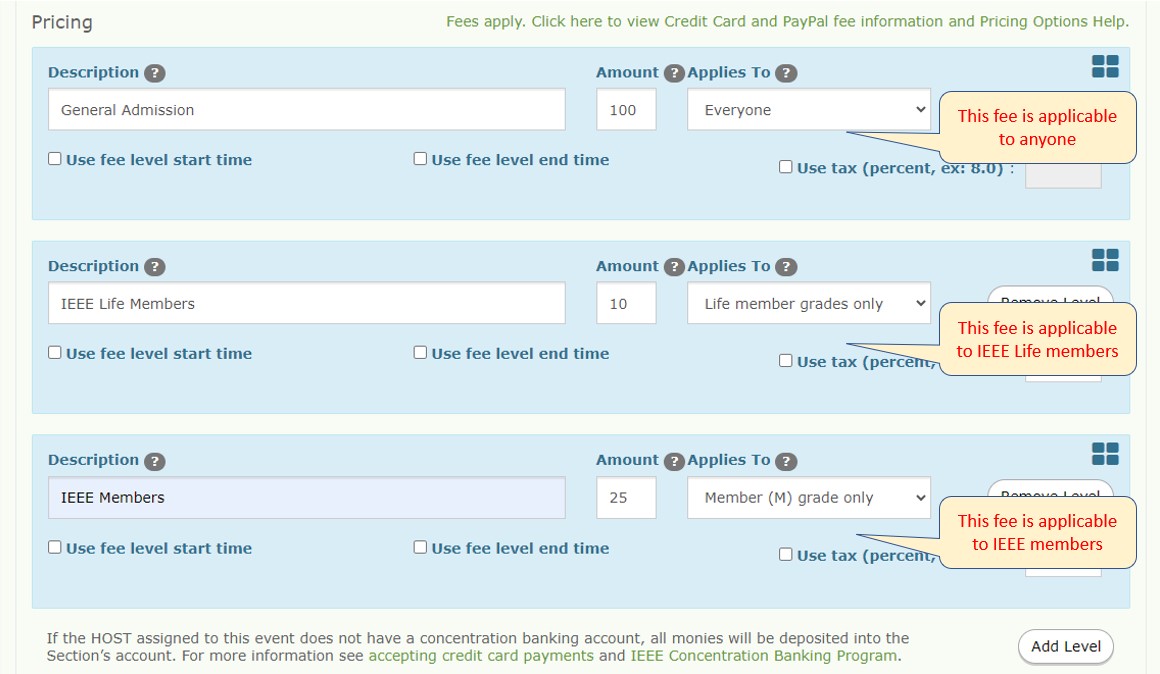
Optional Pricing Levels – Price Restrictions based on Member Grade
Specify who qualifies for a given price level based on their association with IEEE or member grade.
Example: You can provide discounted pricing to IEEE members and student members. Registrants will be required to either sign in or provide their member number to qualify for the discounted price level. The system will use the member number to check the registrant’s member status (active/inactive) and current member grade.
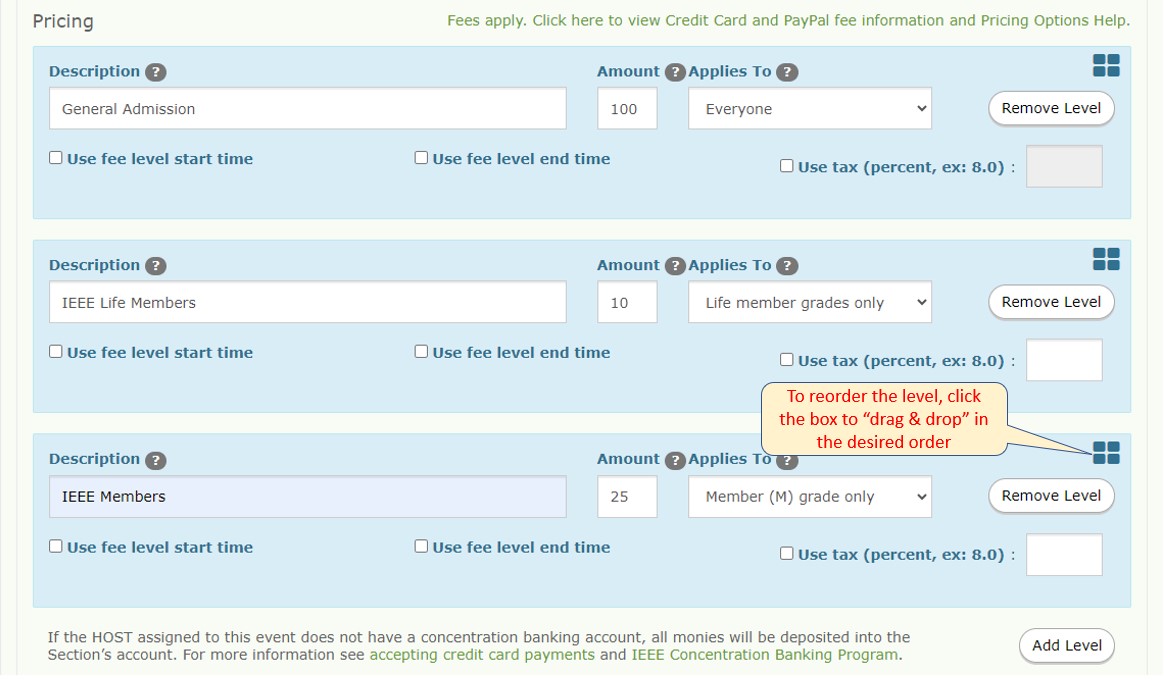
You may also re-order the registration levels, if desired, by clicking the square icon in the right-hand corner to drag & drop the levels in your desired order. The pricing levels will appear in the order you select when guests are registering.
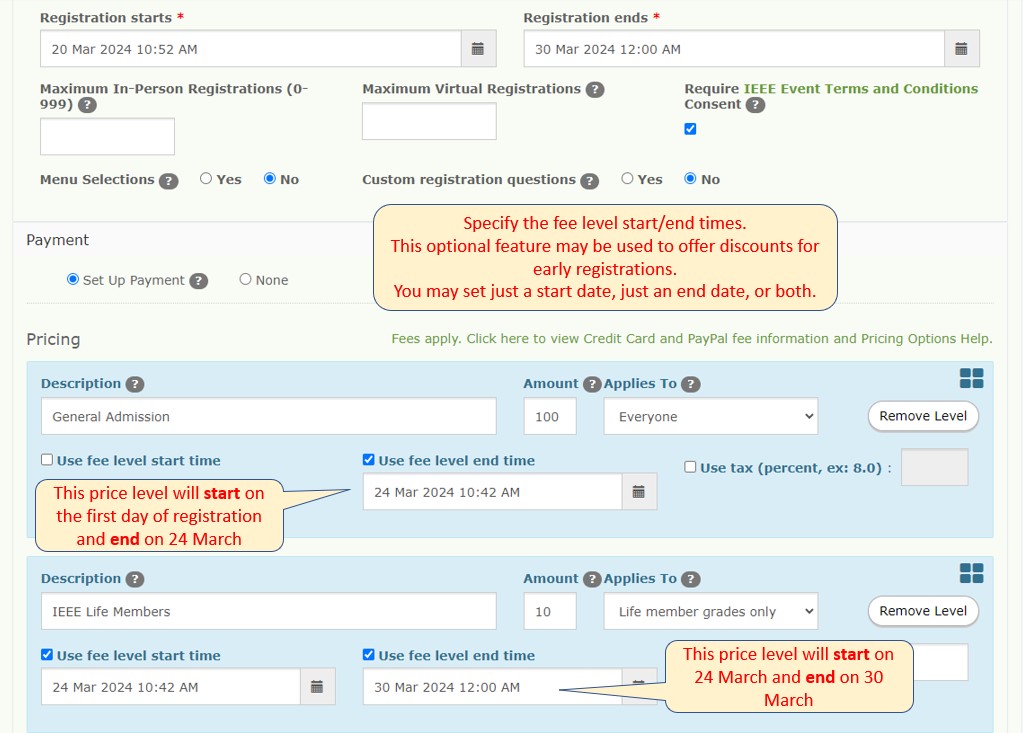
You may also specify certain start and end times for the pricing levels. This may be useful if you want to have “early bird” pricing for registration.
Note: If you are using start and end times for registration levels, there can be no gaps between the end time of one level and the start time of another level! E.g. if the end time of one level is 24 March 2024 10:42 AM, then the start time of the next level must also be 24 March 2024 10:42 AM. If there are even 1-minute gaps, this will cause an error in vTools.
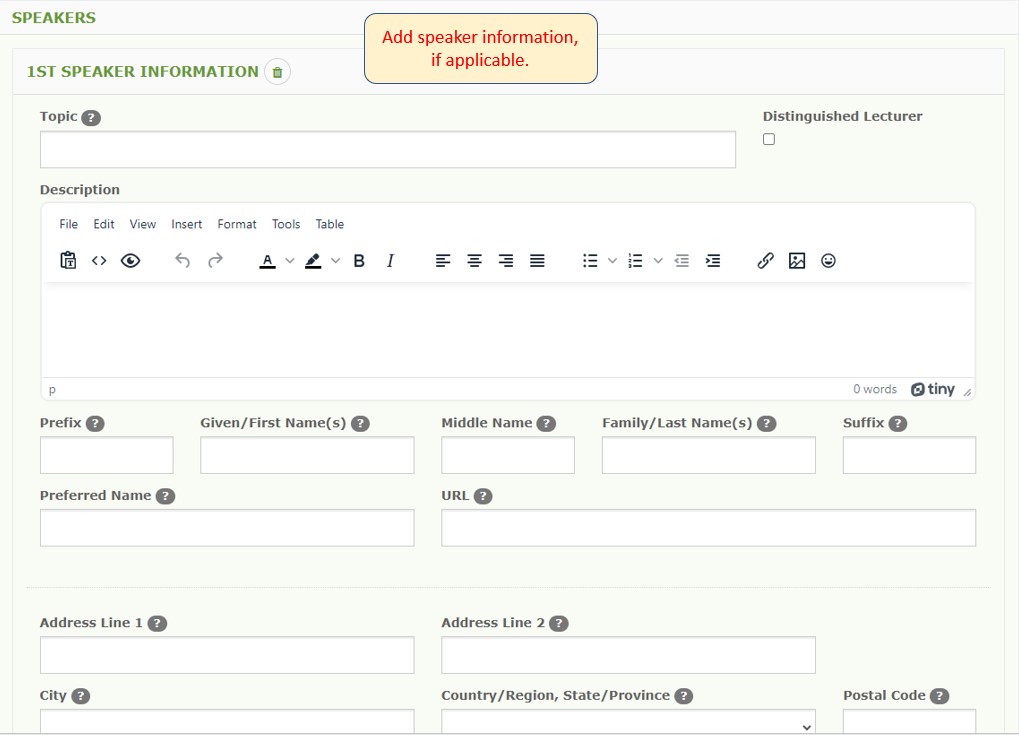
Adding Speakers
Photos for speakers can be uploaded using the TinyMCE editor.
You may add as many speakers as needed.
Publish the Event
When ready, click “Save & Publish” to publish the event for public view.
The “Manage” page will show the details:
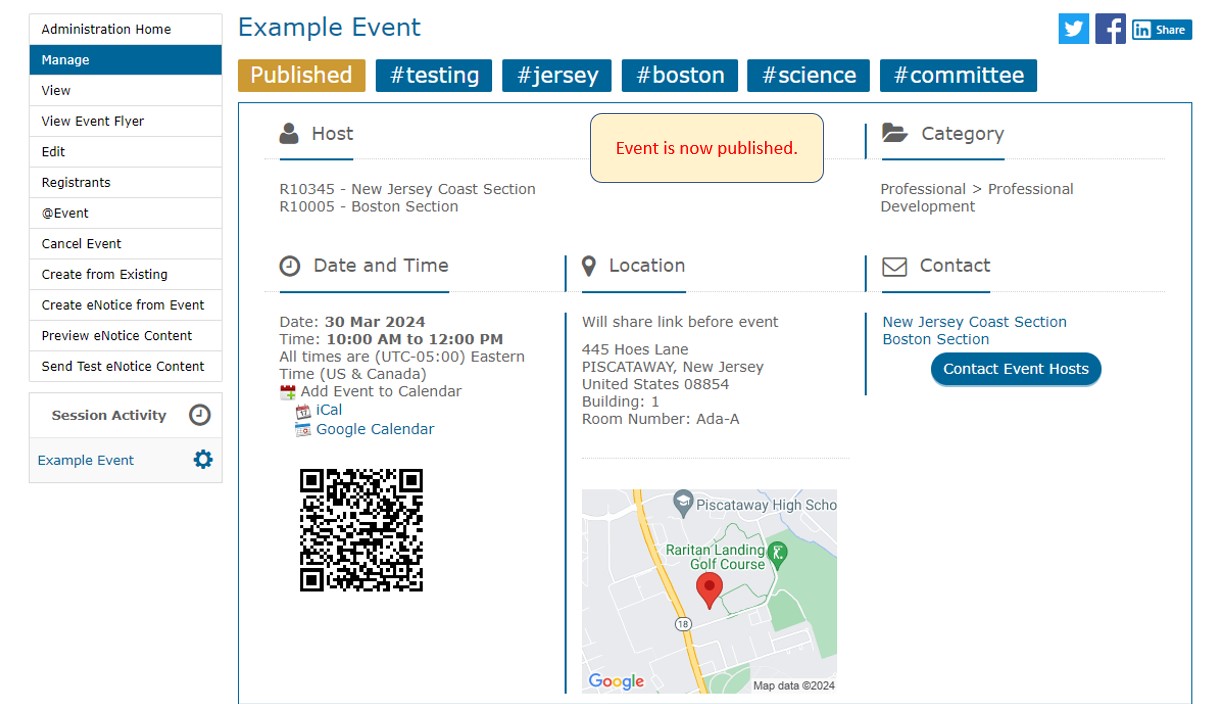
Note the QR code! All events feature a unique QR code which when scanned will bring users to the public Event View page. This QR code is visible on both the Manage Event page, and the public Event View page. This code can be shared with users as needed.
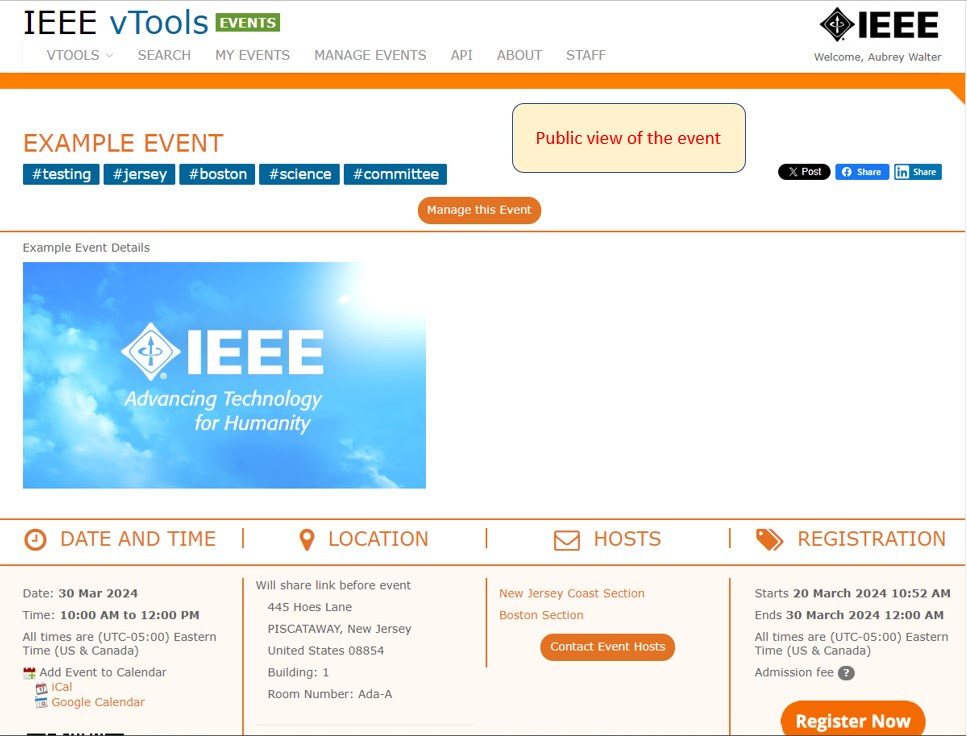
Public View
Reporting the Event
Once the event is over, it must be reported to IEEE Headquarters. All host OU contacts will receive an email reminder to report the event after it is over. See this tutorial for how to report an event.
See other event tutorials for other options available in vTools Events.