When creating an event, vTools gives you the ability to send an eNotice directly from the event page. The event/meeting information will automatically be populated into a new eNotice, and the eNotice will be sent to all members in the host(s) Organizational Unit(s) that you have access to send to. This option is available for every event/meeting and every organization in vTools Events.
Create the eNotice from an Event
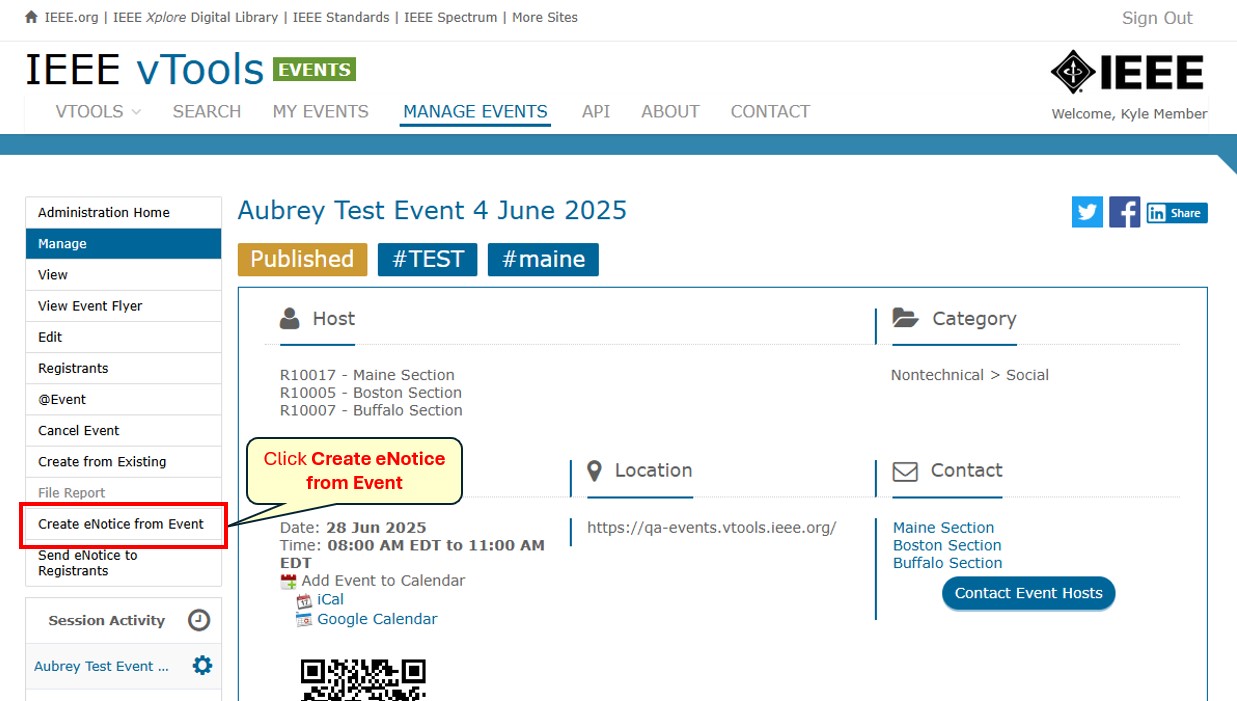
Navigate to the Manage screen of the event you wish to send the eNotice from, and in the menu on the left, click “Create eNotice from Event.”
A modal will appear where you can select who you want to send the eNotice to. Either “Send to All Host OU Members,” which will send the eNotice to all Host OU members that you have access to, or, “Exclude Current Registrants” which send the eNotice to all OU members EXCEPT those who have already registered. Once you select your choice, you will be brought over to eNotice.
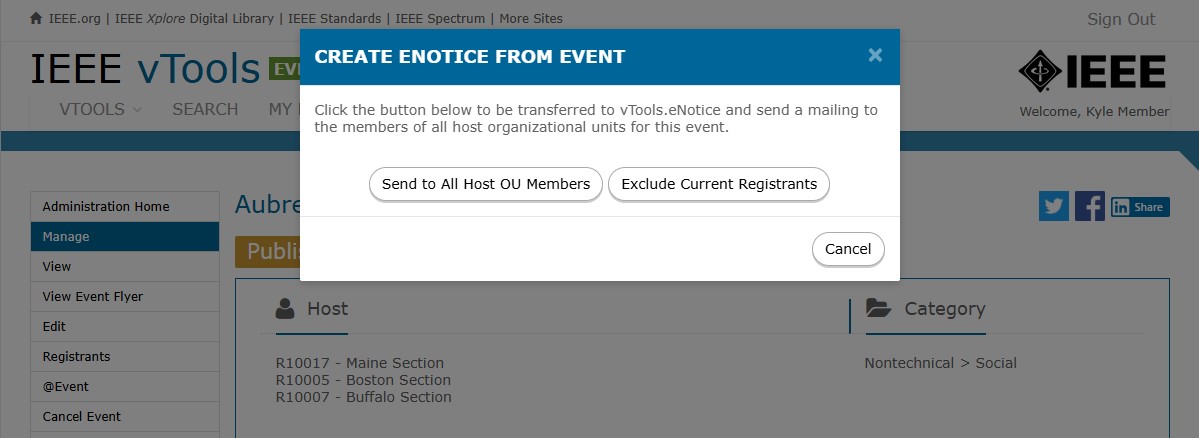
In this example, we have selected “Send to All Host OU Members.”
Review the eNotice
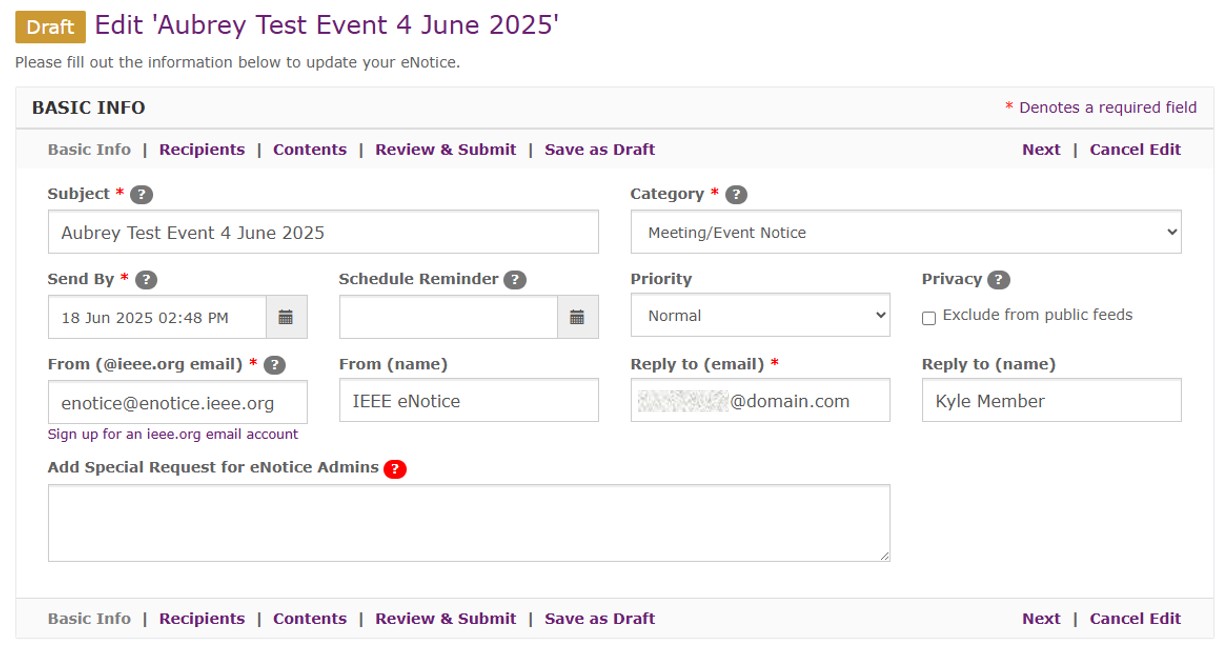
You will automatically land on the “Basic Info” screen of the eNotice and you will see that it has been populated with the title of the event. You can make any modifications you need on this page.
When you move to the Recipients page, you will see that any OUs you do not have access to send to have been unchecked. If you have permission from the other OUs to send the eNotice to them, go back to the Basic Info page and leave a note in the “Add Special Request for eNotice Admins” box so that the eNotice admins can process your eNotice manually to the other OUs. (See this tutorial for more help with this.)

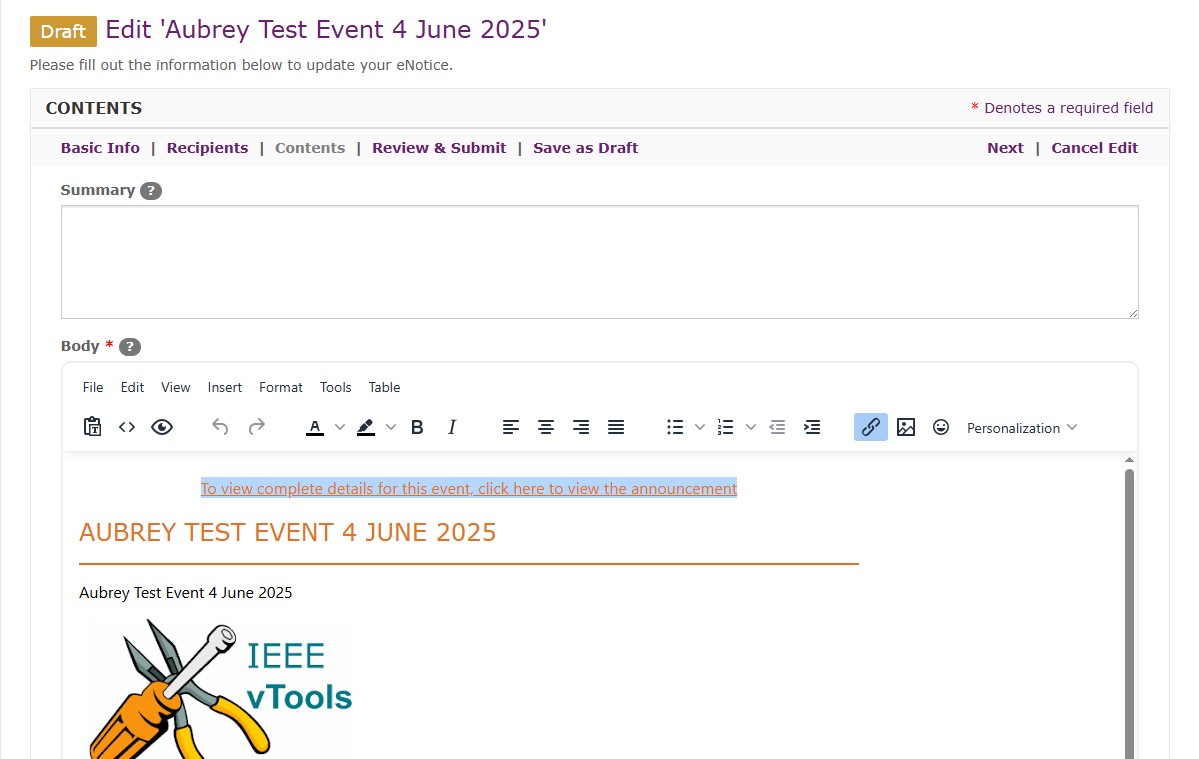
When you move over to the Contents screen, you will see that the eNotice has been automatically populated with the content of the event. You can make any modifications you need here.
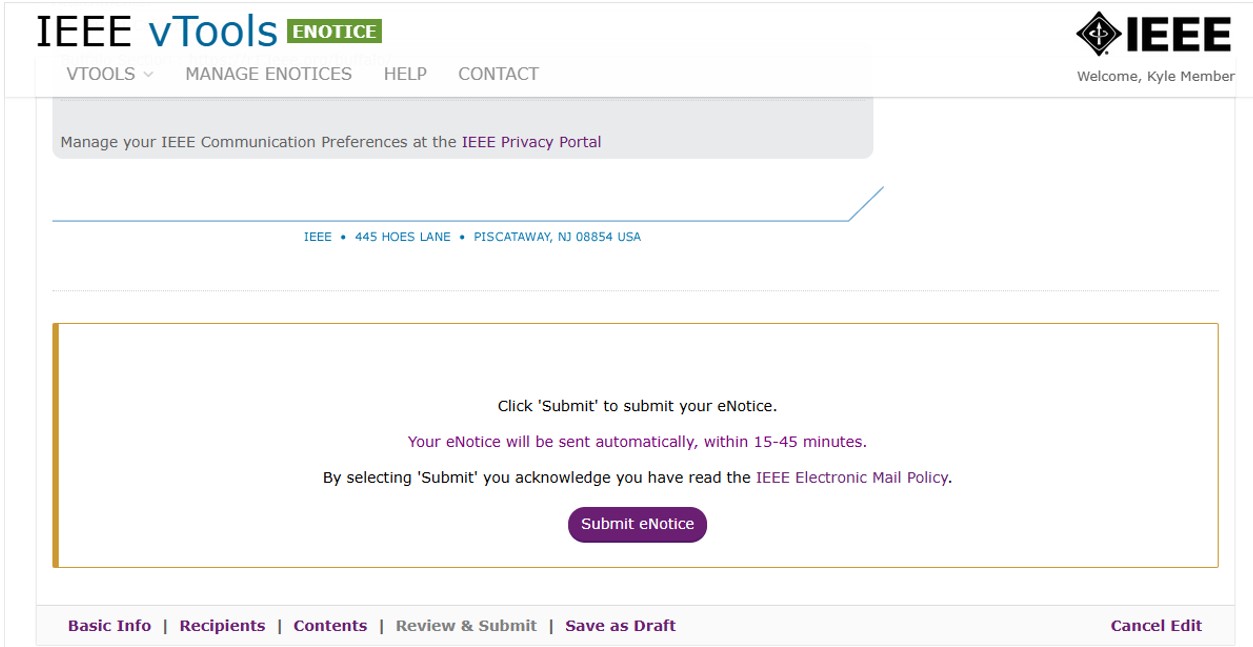
If you are ready to submit the eNotice, you can go to the Review & Submit page. If you need to go back to any of the sections to make further modifications, you may do so. If all looks good, scroll down to the bottom of the page and click “Submit eNotice.”
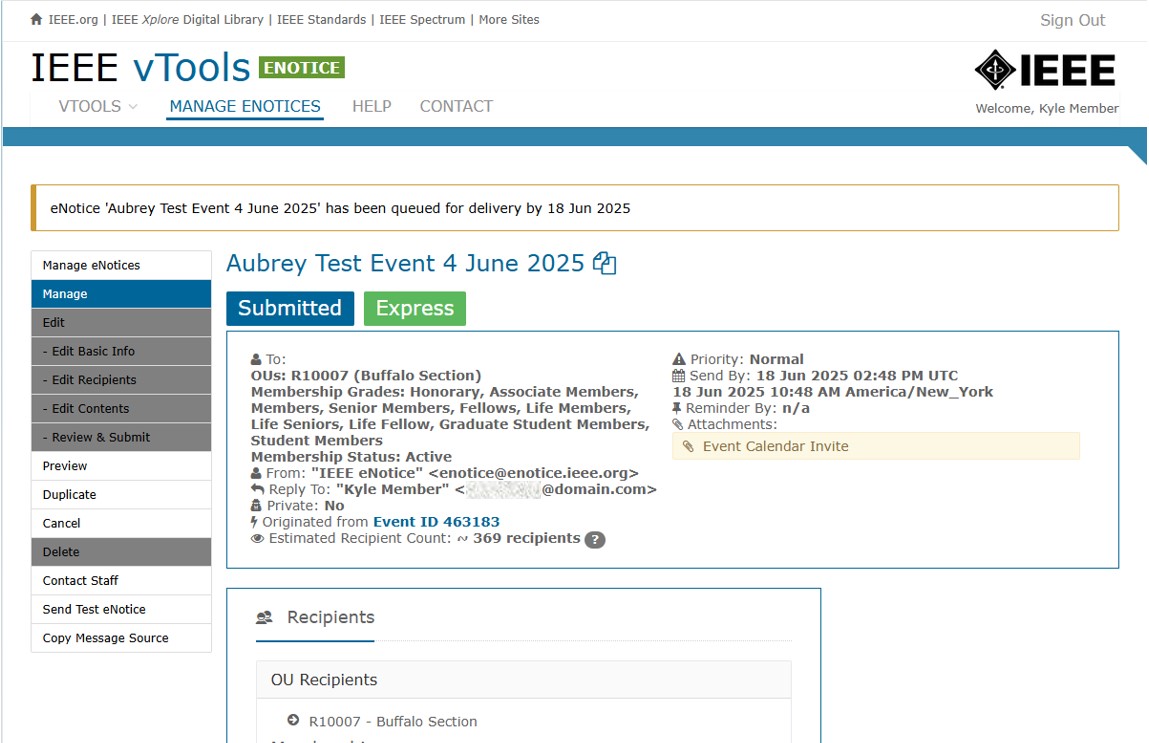
Your eNotice will be queued for delivery.
NOTE:
If the event/eNotice recipients are for multiple Sections or Regions, it is best practice to split them up and send them to the individual Sections/Regions. You can do this by selecting “Create eNotice from Event” but then modifying the recipients to only include the individual Sections/Regions. You will have to send multiple eNotices this way, but it will prevent the eNotice from failing because the recipient list is too large.