Sign in to vTools eNotice
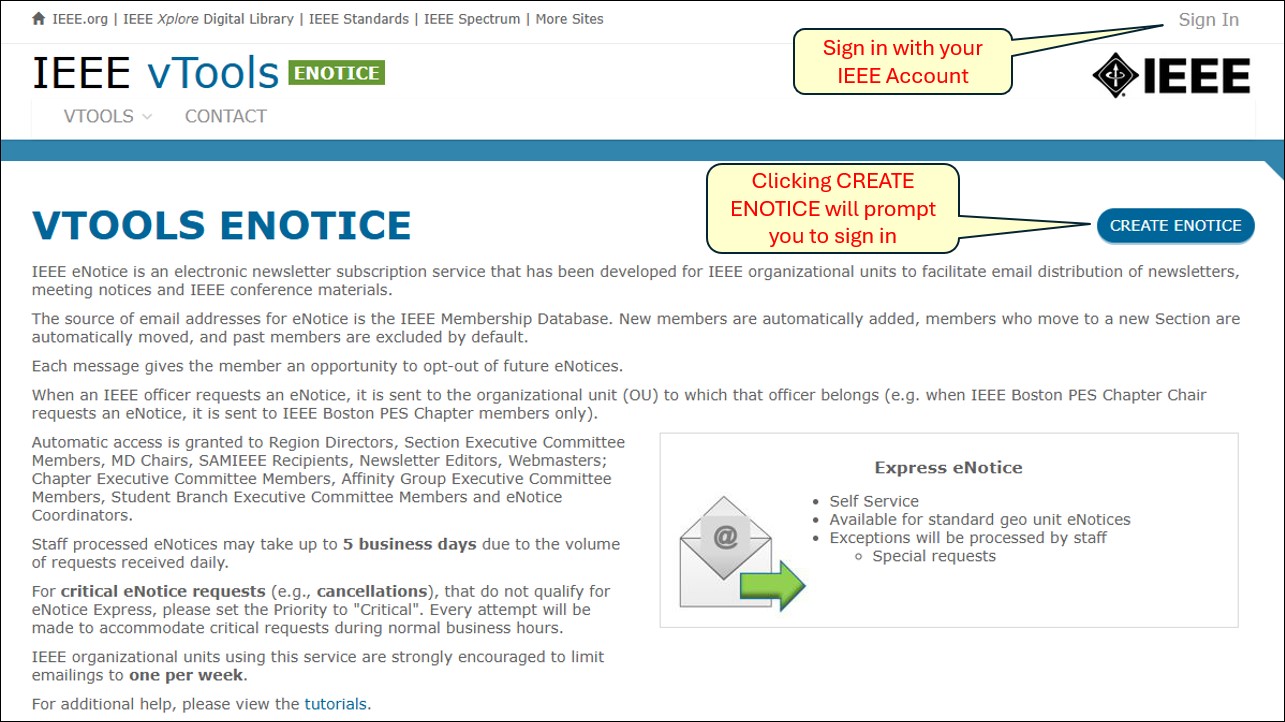
Navigate to vTools eNotice at https://enotice.vtools.ieee.org and sign in with your IEEE Account. You can also click the “CREATE ENOTICE” button on the homepage, which will prompt you to sign in (if you are not already).
Select the Mailing Category
In the drop-down list, select “Officer Mailing.”
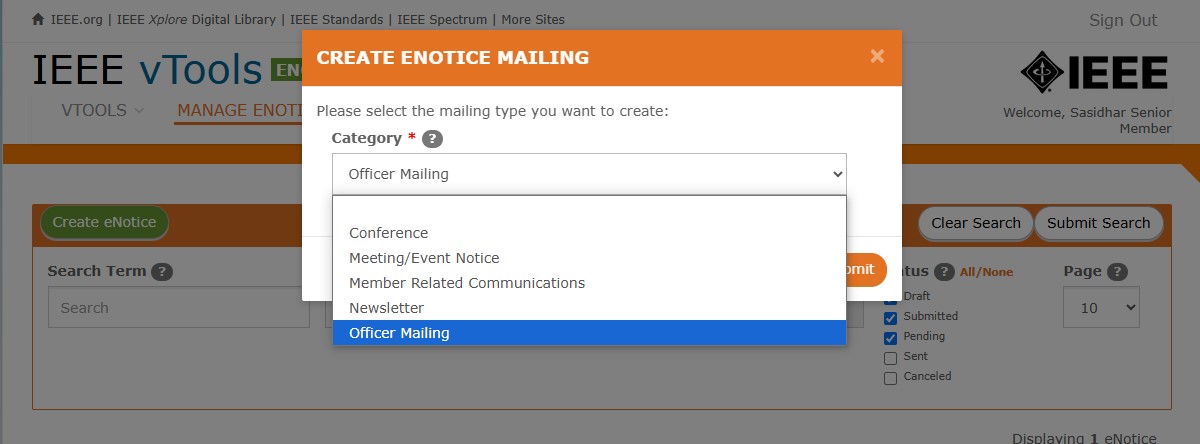
Click the “Submit” button to start your new eNotice.
Basic Info
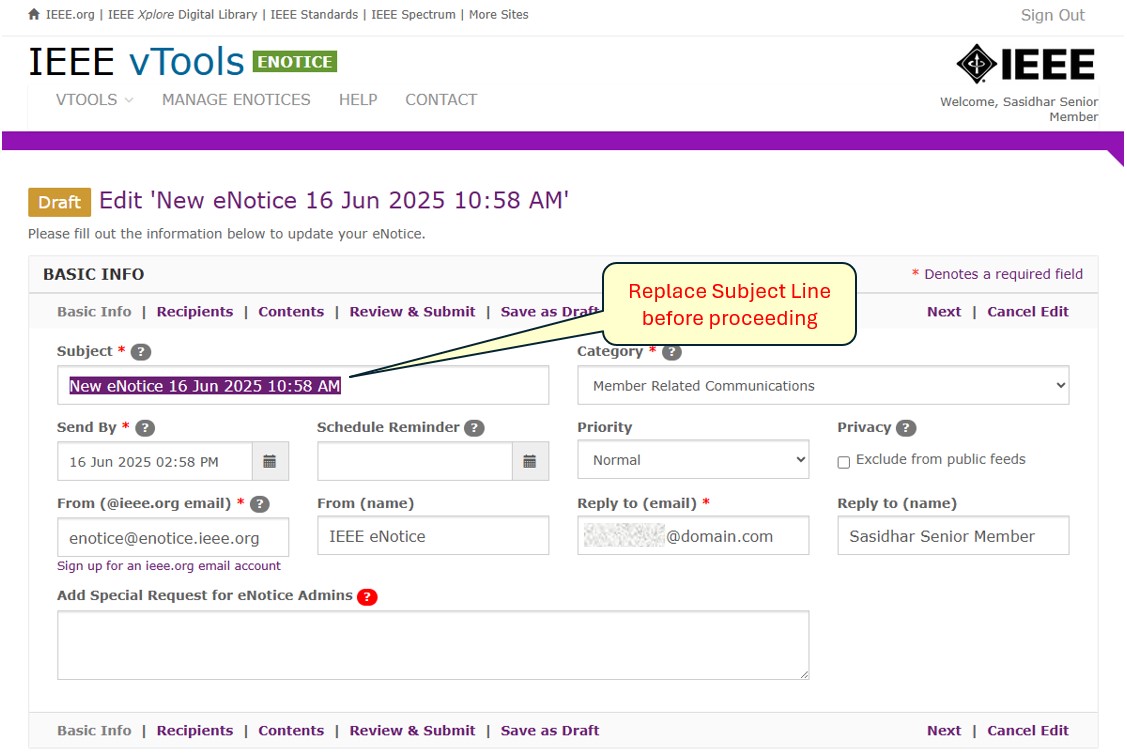
Once you have selected the mailing category, you will be brought to the “Basic Info” section of the eNotice form.
Complete all the required fields in this section, including the Subject Line, Send By date, Reminder date (if applicable), and the From and Reply To email addresses.
NOTE: eNotice will automatically populate a generic Subject Line for you with today’s date and time. Be sure to replace it with a proper Subject Line before sending, otherwise vTools will not let you proceed from this page!
If you need to add a special request for the eNotice Admins, you may add it in the box. NOTE: This will cause your eNotice to go into “Pending” status after you submit it because the eNotice Admins need to review your note and submit your eNotice for sending. Even if you enter “please send ASAP” in the box, the eNotice will still get stopped until staff can review which will delay the sending of your eNotice. Only use this field if you have specific notes or instructions for the eNotice Admins!
Once all fields have been completed, click “Recipients” or “Next” to go to the next section.
If at any point you want to save the eNotice as a Draft and come back to it later, simply click on “Save as Draft” or “Cancel Edit” to go back to the Manage page of the eNotice. Note that selecting “Cancel Edit” does not delete the eNotice – you must do this from the Manage screen.
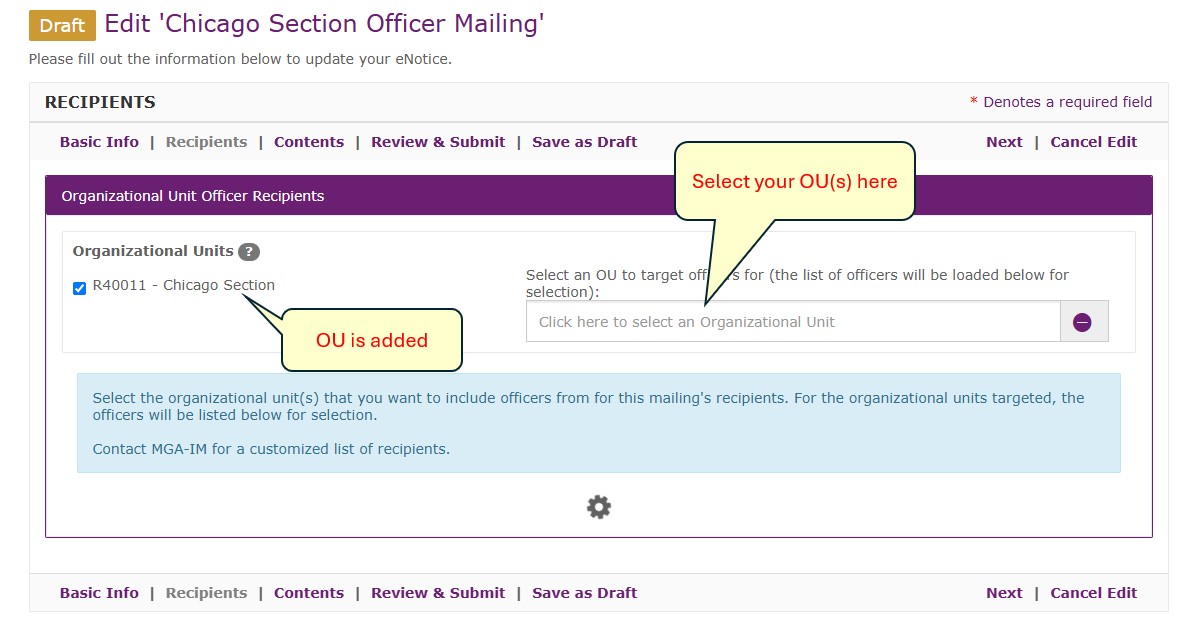
Choose your Recipients
In this section, you will choose your recipients for this eNotice. Start by selecting the Organizational Unit (OU):
The screen will show the spinner icon while it looks up the officers for the OUs you have selected. You will then see that the officers have been populated, and you can now select the officer recipients you wish to send to:
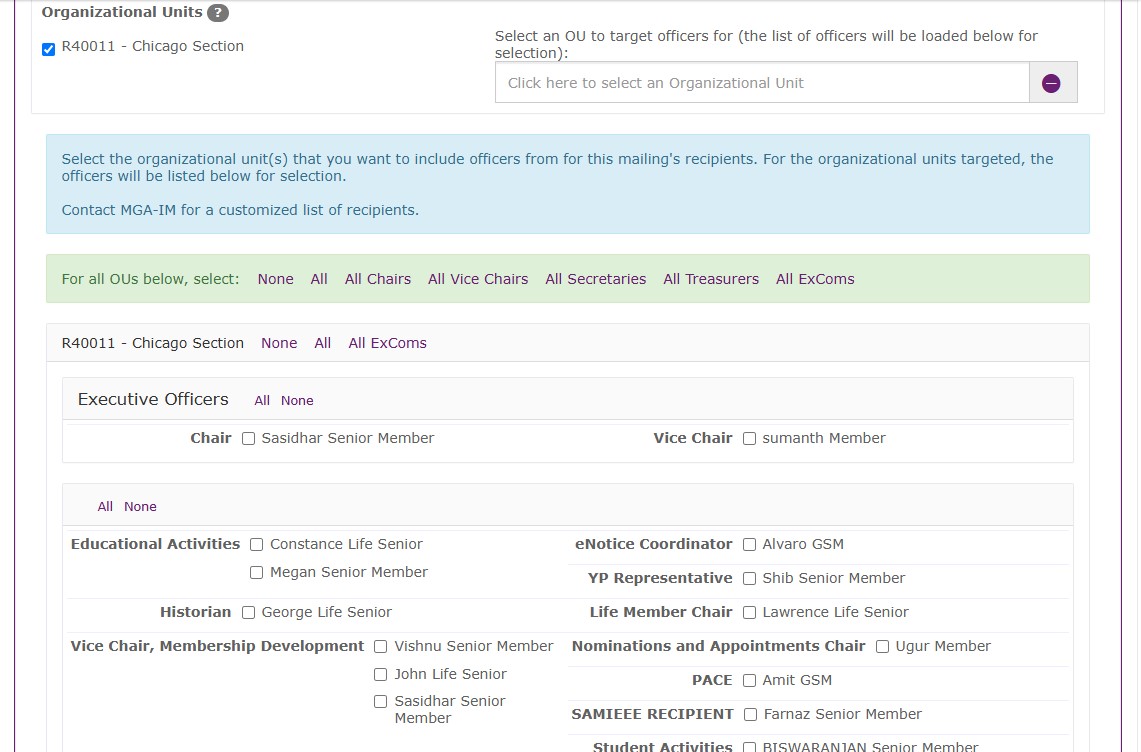
There are “shortcut” keys for selecting certain recipients, e.g. “All Chairs,” “All Treasurers,” “All ExComs,” etc. The selections in the green bar apply to ALL OUs you may have selected. You can also select the officers from each individual OU if you want to send to specific people.
Select whatever officers you wish to send to, then click “Contents” or “Next” to go to the next screen.
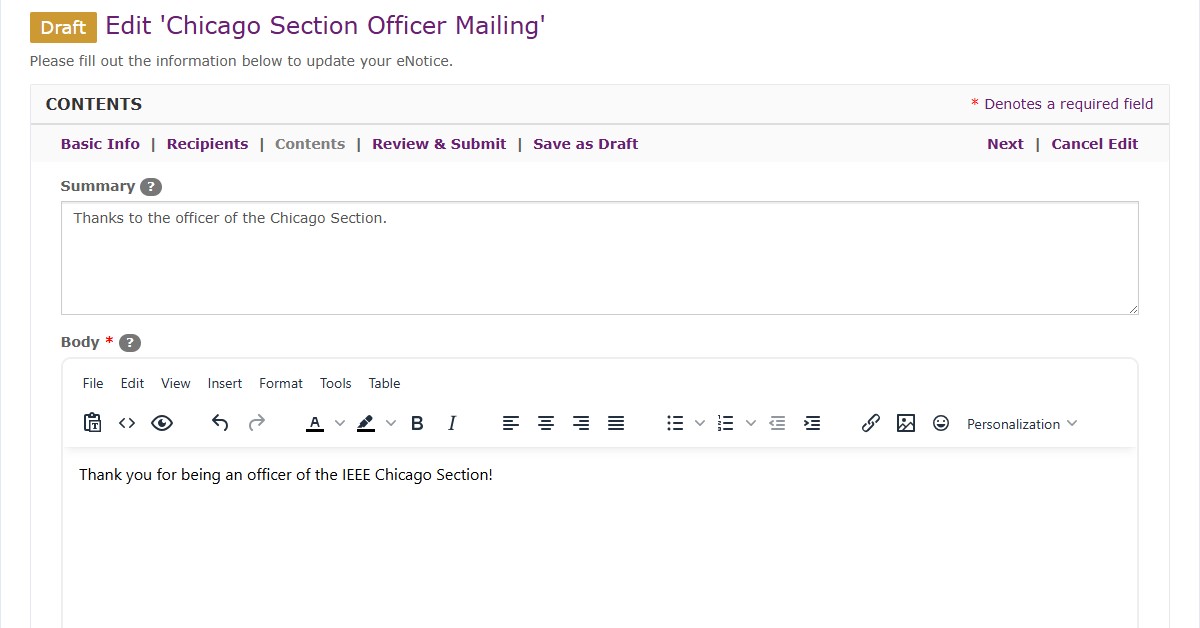
Contents
Here, you will add the contents/body of your eNotice.
The Summary field is not required, but does help in identifying the eNotice if you have a feed set up. You can add a sentence or two to describe the intent or purpose for the eNotice, which will be included in RSS feeds.
On this screen, you may also upload files/attachments, if needed.
QUICK TIP: It is not advised to copy/paste content directly from a Microsoft Word document into vTools. This can sometimes cause extra/hidden characters to be inserted and can cause errors when submitting your eNotice. Either type the content directly into eNotice, or copy/paste from Notepad.
Click “Review & Submit” or “Next” to go to the next section.
Review & Submit
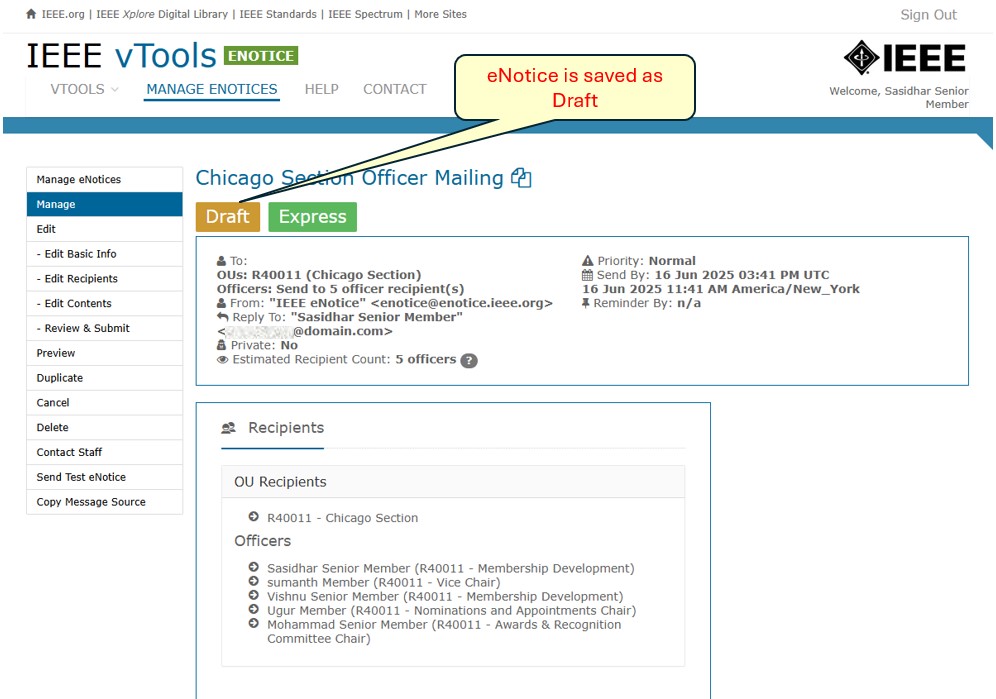
When you have completed all the fields in the eNotice form, click on the Review & Submit section to review the details of your eNotice. If you need to go back and change anything, click on the appropriate section of the form and make any changes you need. If you’d rather just save it as a draft to come back to it, click on “Save as Draft” or “Cancel Edit” at the top or bottom of the screen. You will be brought to the Manage screen and you will see that the eNotice is saved as a draft.
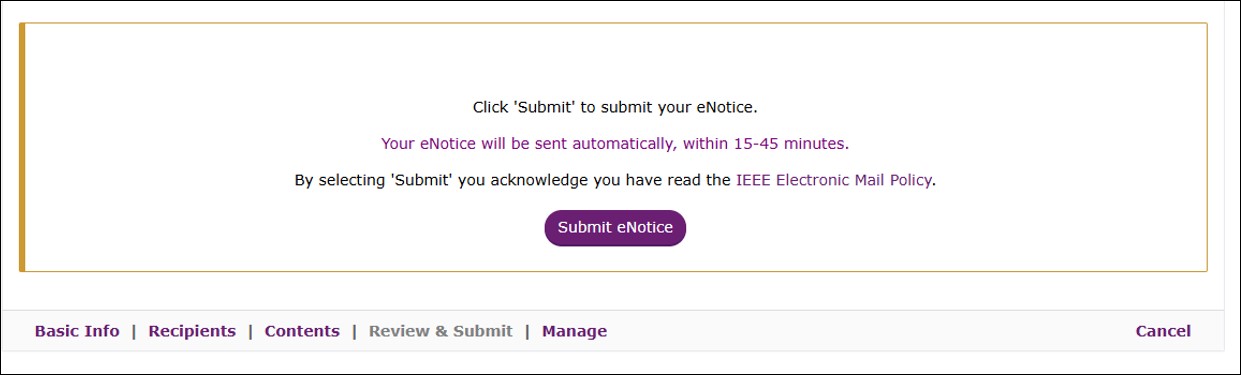
When you are ready to send the eNotice, come back to the Review & Submit section. Scroll to the bottom half of the page and click “Submit eNotice.”
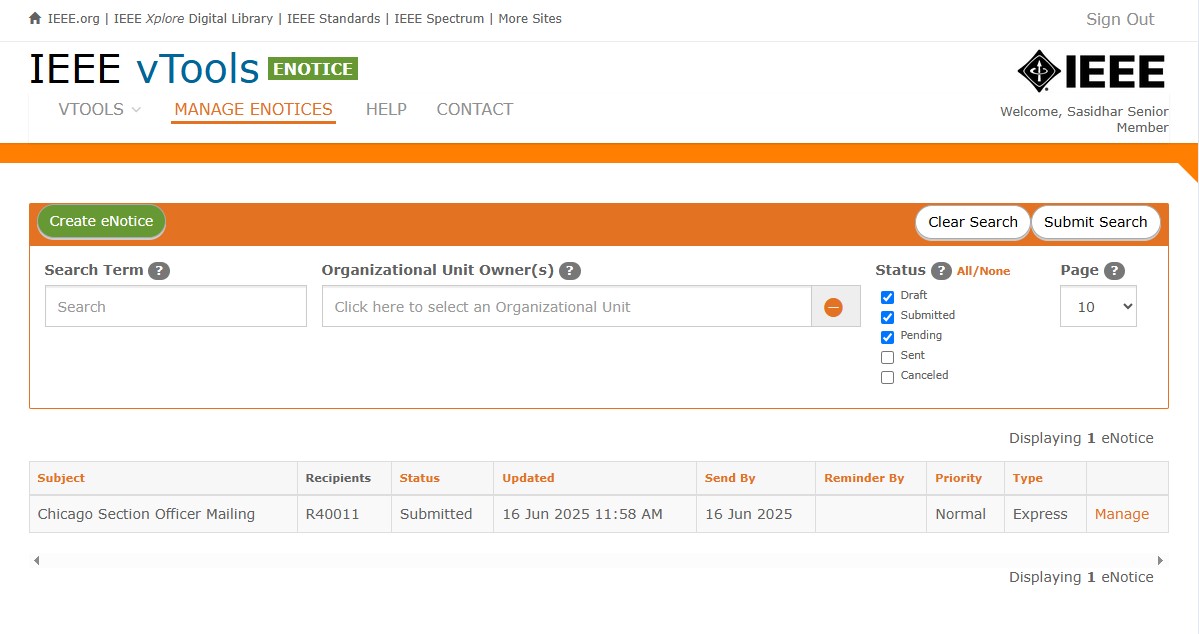
You will be brought back to the Manage screen and you will see that the eNotice has been submitted, and the editing options are greyed out.
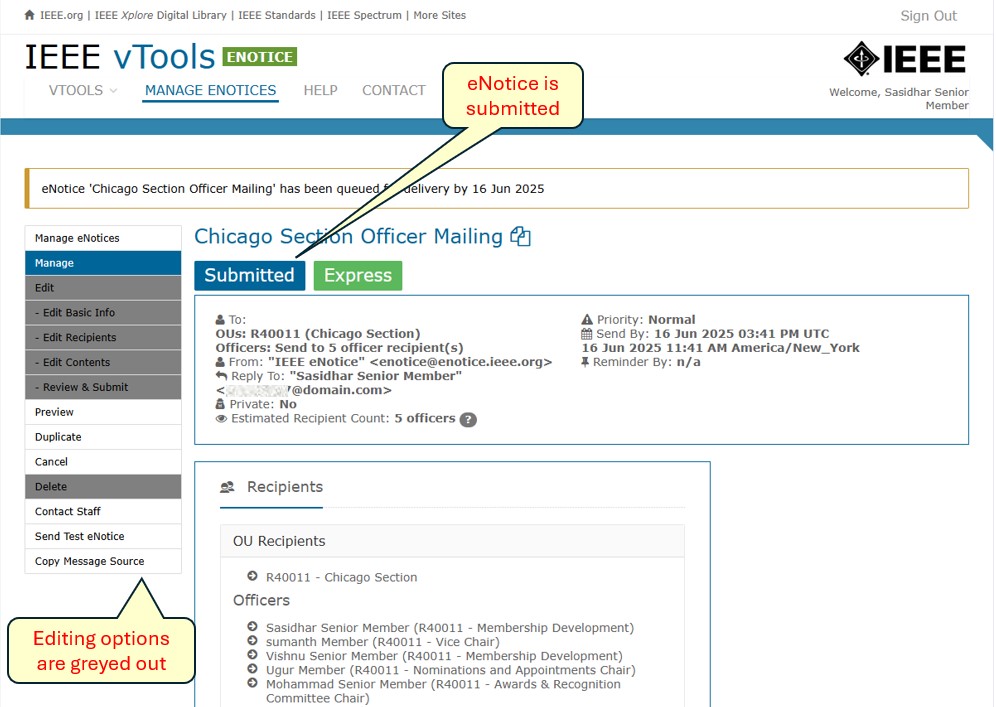
If you go back out to “MANAGE ENOTICES” you will see that the eNotice is queued up for delivery. Once it has sent, the Status will change to “Sent.”